
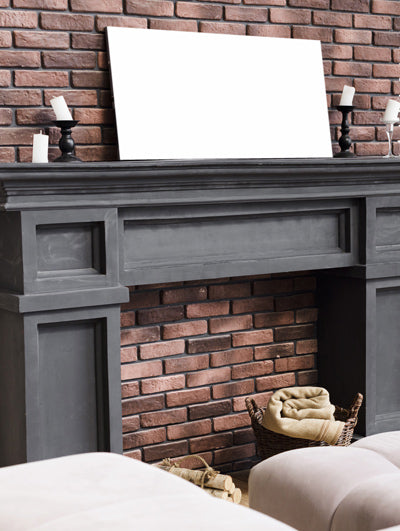
Cladding a fireplace made easy:
A fireplace stands for coziness and security. No other element creates warmth and security, especially in the colder seasons.
However, the firebox can only truly shine if you clad the fireplace. Since the inside of the fireplace generates high temperatures, a fireplace cladding must be fireproof.
To ensure that everything goes smoothly when cladding the fireplace:
You can confidently rely on our plaster products. These are exclusively made from fireproof materials and are suitable for use on fireplaces.
Step 1: Choose a fireplace cladding
The material you choose for cladding the fireplace is ultimately secondary. In our shop, you will find stone-look products as well as other panels and moldings that are perfect for fireplace cladding.
Since the fireplace is an eye-catcher, you should ensure that the chosen cladding not only matches the fireplace but also its immediate surroundings.
-
Material list:
- Fireplace cladding
- Mortar
- Acrylic-based filler
Step 2: Preparation - Mixing mortar
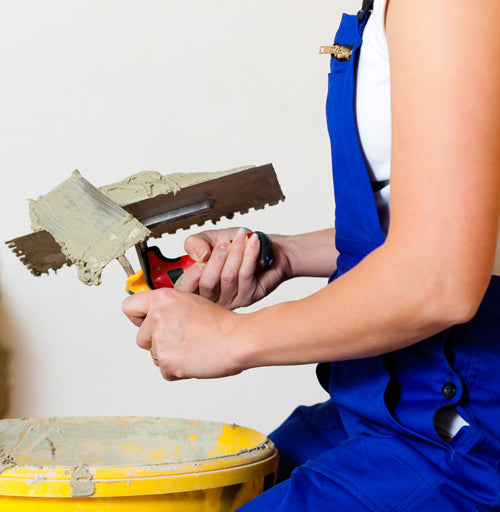
Before you can start working on the fireplace cladding, you should lay out some newspaper around the work area.
Then, arrange the cladding panels and begin mixing the mortar. You should follow the manufacturer's mixing instructions. It is advisable to have the following tools ready:
- Spatula
- Bucket
- Water container
Now mix the mortar as instructed until you achieve a consistency similar to toothpaste. Don't worry, correctly mixed mortar can be worked with for some time.
Step 3: Cutting cladding panels
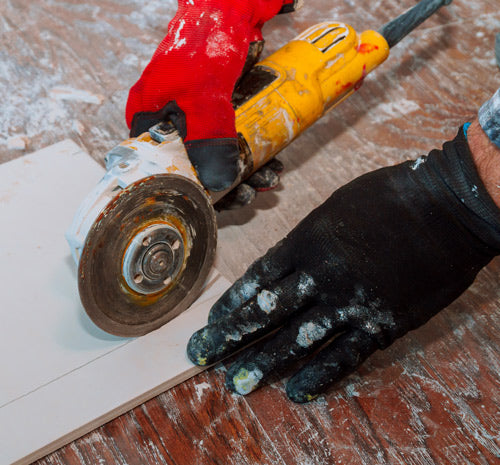
To easily install the moldings and panels, you should measure your fireplace and cut the material to the correct length, for example, with a miter saw.
Depending on how you attach the panels, you may also need to cut at angles. To ensure nothing goes wrong here, a miter saw or a chop saw is recommended.
When cutting, make sure you saw straight edges and don't have too much waste.
Tip: Before cutting, add some water to the plaster to reduce dust.
Step 4: Installing the fireplace cladding
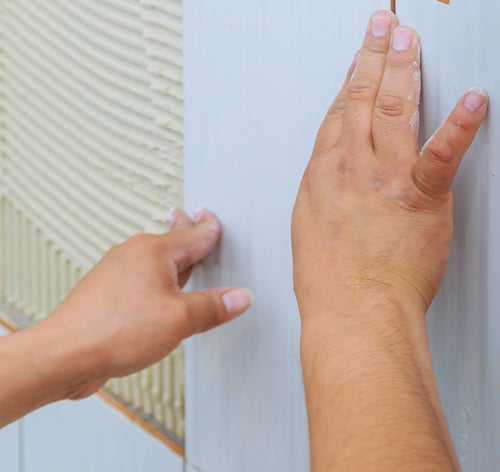
You should plan the most time for installing the fireplace cladding.
It's best to work your way up from the bottom, attaching individual cladding pieces one after another. Make sure to align the individual pieces with a spirit level.
Once you have finished gluing the individual pieces, you should let the mortar dry for at least 2-3 hours. Afterwards, you can proceed with further processing. The mortar will fully cure when the fireplace is put into operation.
Step 5: Grouting and finalizing the fireplace
To ensure your fireplace cladding lasts as long as possible, it is recommended to grout with acrylic or silicone. When grouting, make sure you press enough material into the joints. This will prevent gaps from forming after drying.
Once the grout material has thoroughly cured, you can smooth the joints again with fine-grit sandpaper. Afterwards, you can paint or plaster the cladding.
