Step-by-step guide and valuable tips for installing a ceiling cornice.
On this guide page, you will learn how to install ceiling, stucco, and finishing cornices yourself. Our installation guide primarily refers to real stucco products. In our assortment, you will find numerous different stucco cornices and flat decorative moldings, which you can easily install yourself.
Gluing ceiling cornices - How to install a stucco cornice yourself:
Stucco cornices are a real eye-catcher and beautify your interior in an aesthetic way.
Gluing stucco cornices is playfully easy, so it's worth considering installing them yourself with the help of this guide from Roman Living.
After the complete material list, the following will explain step-by-step how to install our stucco cornices yourself:
-
Material list:
- Stucco cornice
- Plaster adhesive
- Plaster mixing cup
- Filler (acrylic-based + caulking gun)
- Fine saw / coping saw / circular saw
- Miter box / angle gauge
- Chalk line
- General: Spirit level, ladder, masking film, steel pins, spatula
- If necessary, drill, dowels, screws

Step 1: Choose a stucco cornice
Browse our range of stucco cornices and get inspired. There's something for every taste here.
Then measure the room with a tape measure so you can order the right amount of stucco cornices.
However, always order a little more than the exact measurement, as miter cutting always results in some waste.
When choosing stucco, always make sure that the design matches your style in your home. From classic antique to pompous and elaborate stucco cornices, there is nothing Roman Living doesn't have.
So that nothing goes wrong when gluing stucco cornices:
Since our stucco cornices are made of plaster and fiberglass, they are lightweight and can be perfectly attached to the wall with adhesive or screws.
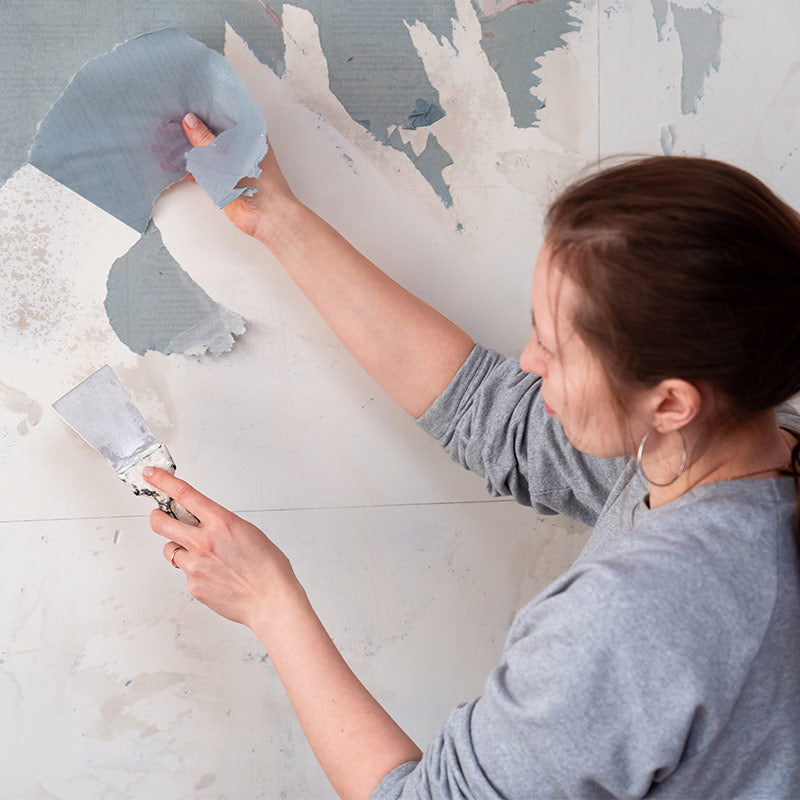
Step 2: Preparation - Clean the surface
Let's start with the preparation: First, the surface must be cleaned. This includes removing old paints and wallpaper residues, as wallpaper is usually not load-bearing.
In addition, you should check the condition of the plaster to ensure its load-bearing capacity. Sandy plaster is perfect for installing stucco cornices.
Cornices need a flat surface
The wall may be uneven and needs to be leveled or filled in some places. Before you can install the stucco cornices, you must also ensure the evenness of the wall.
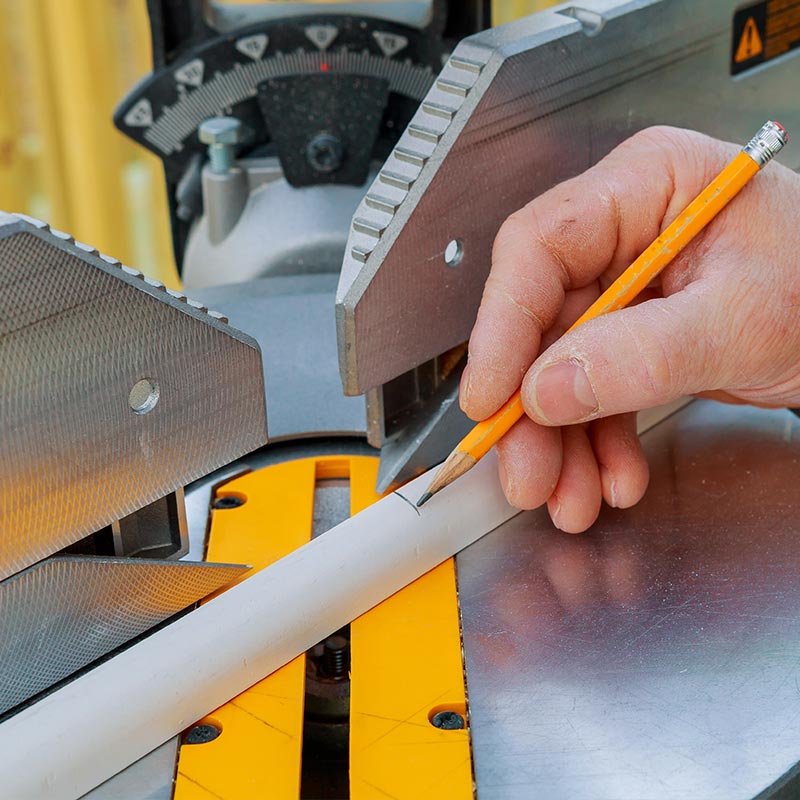
Step 3: Cut stucco cornices to size - Miter sawing
Now the stucco cornices need to be cut to size. The process is essentially comparable to miter sawing skirting boards. This means each wall section receives one or more stucco cornices, depending on the length.
Use the measurements from before purchasing the stucco cornices. The miter box is now used on the corresponding edges.
Ideally, all edges are at a 90° angle. However, since this is not always the case, it is best to first determine the corresponding angles of the edges using an angle gauge. However, using a miter box does not pose a problem in this case. You can simply set it to the corresponding angle.
Using the miter saw:
The surface to be glued to the ceiling rests on the bottom of the box. The surface to be glued to the wall, on the other hand, rests against the back wall of the miter box. To prevent the stucco cornice from slipping, hold it firmly while cutting.
Tip: When miter sawing, pay attention to the dimensions of the inner and outer edges, so make it clear which is the outer and which is the inner edge. We also recommend marking the cuts with a fine pencil so that you don't confuse the inner and outer angles.
Step 4: Installing the ceiling cornices
Now let's move on to the biggest challenge: mounting the cornices on the ceiling/wall.
Final preparations of the surface:
First, cover all areas with masking film or newspaper. Then moisten the wall and ceiling sufficiently so that the plaster adhesive adheres better. To further enhance adhesion, you can also roughen the surface and, for example, scratch it with a spatula.
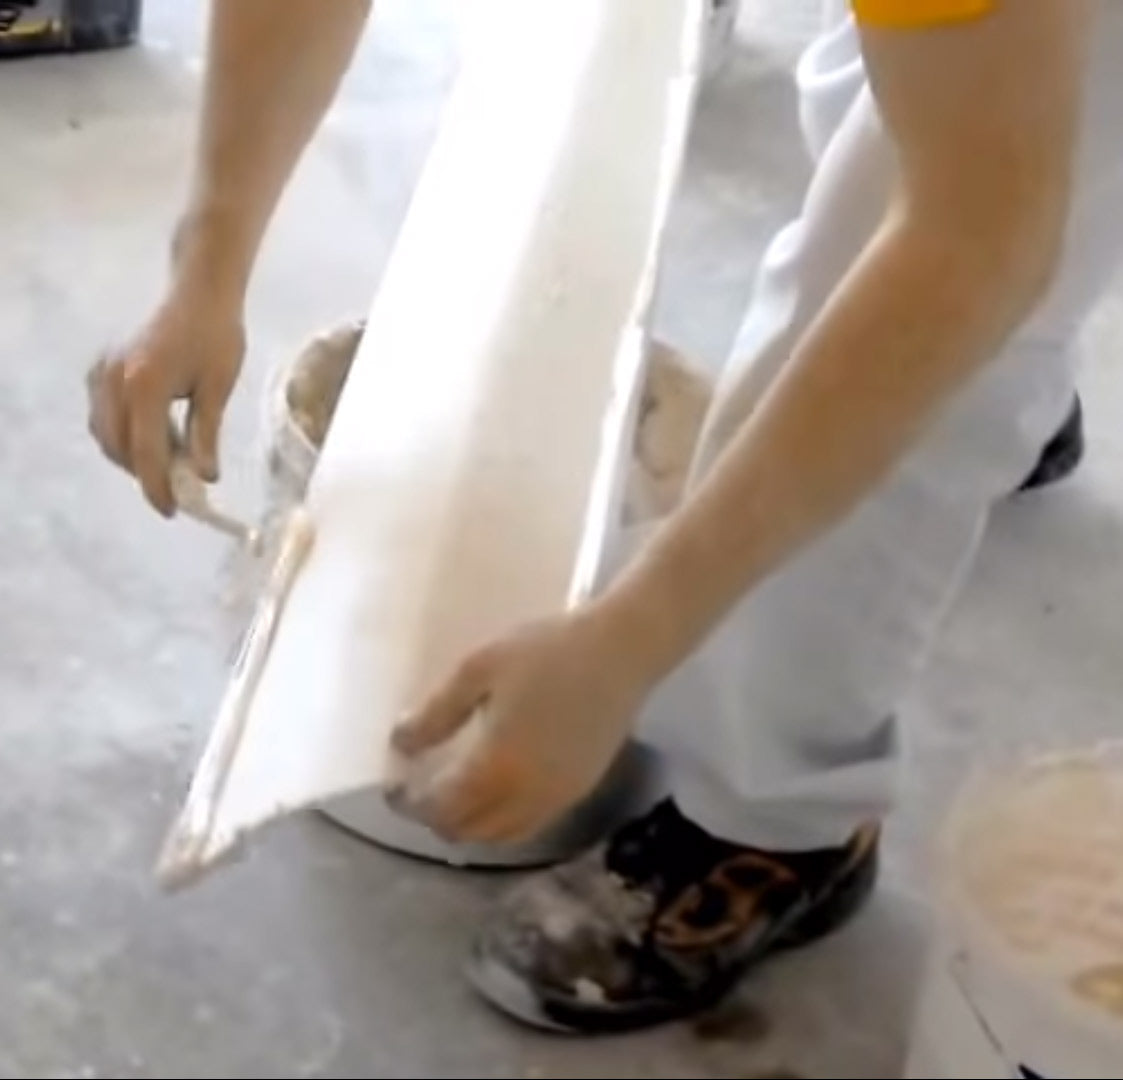
Gluing:
First, the plaster adhesive is prepared. Follow the manufacturer's instructions. The adhesive is mixed with water to a curd-like consistency. Then, start applying the adhesive generously to the wall and ceiling.
Starting with a corner piece, you then gradually glue the stucco cornices using a spirit level and a chalk line. To prevent the stucco cornices from slipping before the adhesive has fully hardened, it is particularly effective to drive small steel pins into the wall below the cornice.
This provides sufficient support for the cornice until the adhesive has dried.
Tip: Clean work can save a lot of effort later. Any adhesive that oozes out at the sides should be removed immediately with a spatula. Afterwards, a damp sponge or brush can be used for finishing. This way, you can ideally save yourself the trouble of grouting.
Special case: Particularly heavy plaster stucco cornices
Some stucco cornices are too heavy to be attached with adhesive alone. In such a case, the cornices are additionally secured to the wall with screws. To do this, drill through the cornice into the wall – but make sure not to set the drill to impact. This can damage the cornice.
The dowel is inserted into the hole and the cornice is fixed with a screw. Here too, steel pins can be driven into the wall below the cornice for fixation.
Tip: To ensure that no screw head is visible from the outside at the end, countersink the drill hole deep enough so that the screw head can be recessed into it afterwards.
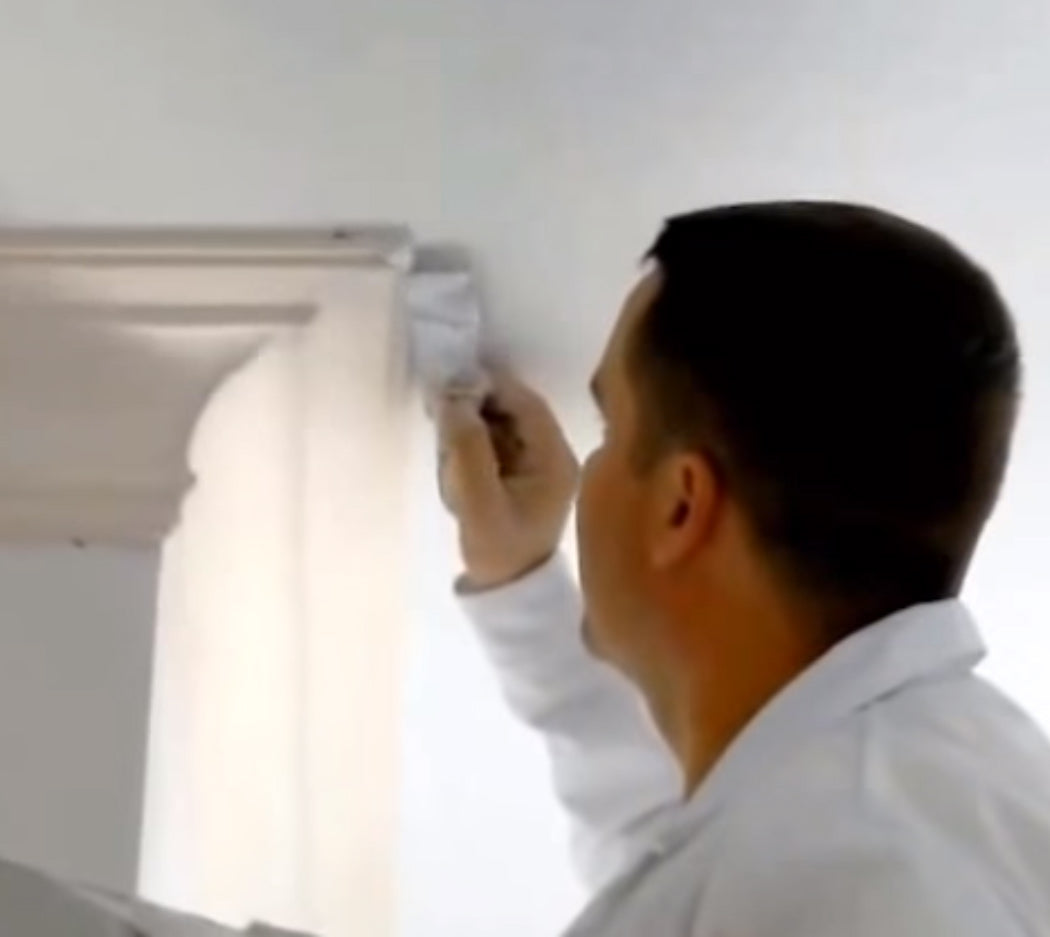
Step 5: Grout and finalize stucco cornices
Complete hardening of the adhesive takes approx. 1-2 days. The drying process is generally considered complete when the color of the adhesive matches the color of the stucco cornice. Afterwards, the steel pins can be removed.
Filling cornice transitions and miters
Using stucco plaster or another suitable plaster compound or filler, then fill the cornice transitions and miters at the corners with a spatula. Alternatively, you can also use an acrylic sealant. The transitions to the wall and ceiling are also filled with joint sealant. To achieve a clean result, the transitions can be sanded down afterwards with sandpaper.
Tip: Acrylic joint sealants are best suited because they are easier to paint over than silicate-containing products. Paints usually do not adhere to silicate-containing products.
Painting the stucco cornices:
The best result is achieved when not only the cornice but the entire room is painted. However, one should not start before the plaster adhesive and joint sealant have dried.
The best result is achieved when not only the cornice but the entire room is painted. However, one should not start before the plaster adhesive and joint sealant have dried.As you can see, you can install your stucco cornices yourself with a certain, but manageable, amount of effort. This saves you an enormous amount of craftsman costs and contributes to the feeling of having beautified your living space with your own hands.